

How To Sew A Window Seat Cushion
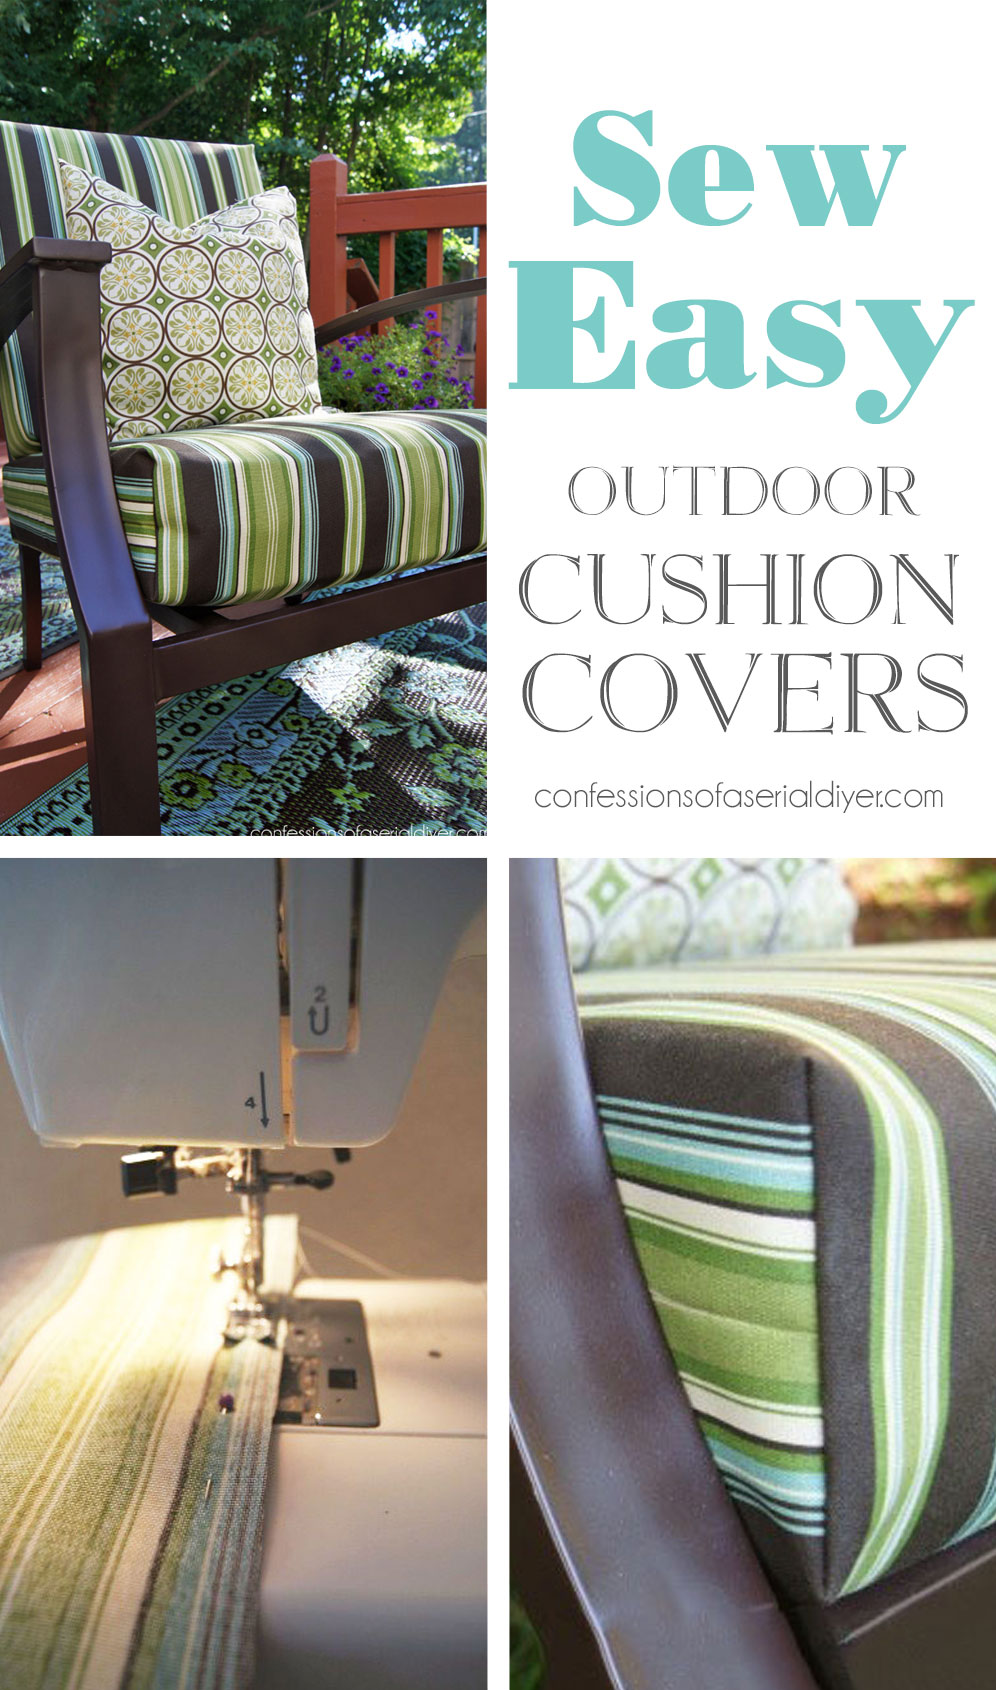
Looking to supervene upon your outdoor absorber covers? You've come to the correct place!
I'thousand going to show you step-by-step how piece of cake it is to make new covers for those faded, time-worn, covered in bird poop and who knows what else, outdoor cushions!
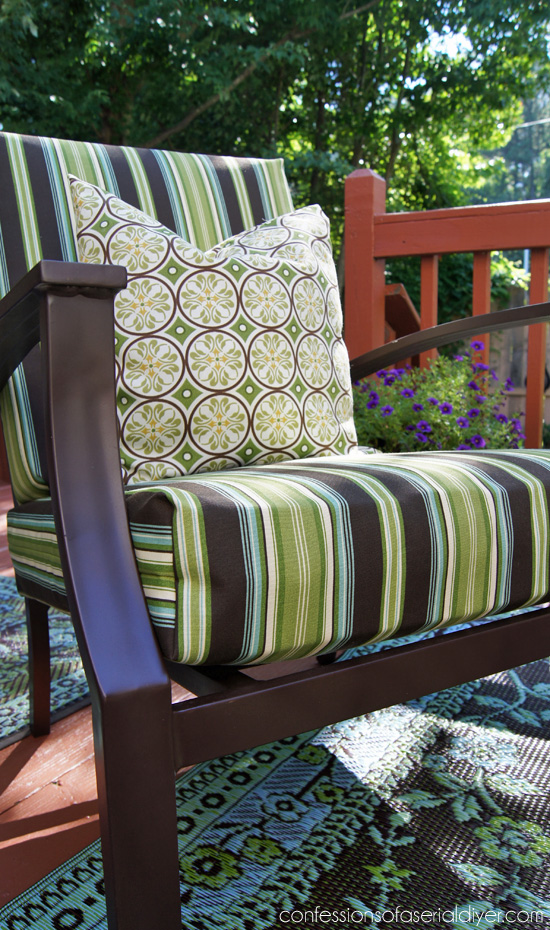
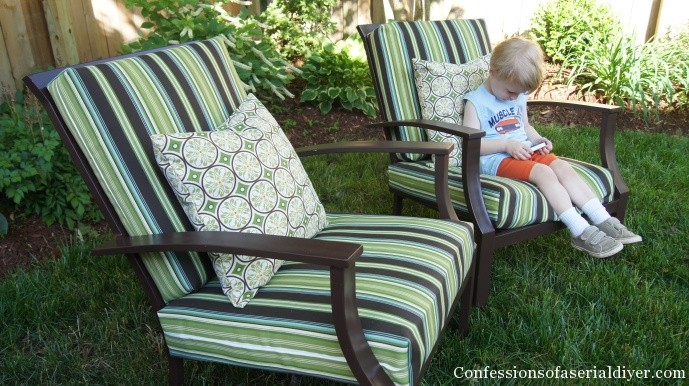
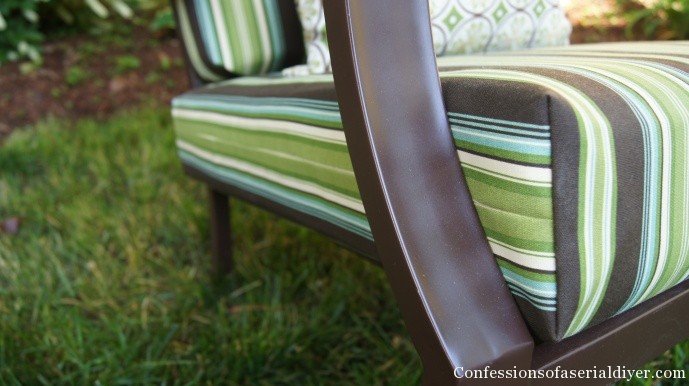
Making new covers made my outdoor article of furniture look brand new over again! (Plus I spray painted the actual chair, again…good for another twelvemonth!)
I purchased this set at Target years ago. It came with several pieces and the price was right, only and so it was white with light light-green cushions.
Since and then it'southward had two wardrobe changes, non including this ane, and a new paint task. I give it some other light glaze of spray pigment each Summer to freshen it up.
Maybe some day I'll get a new fix, but when information technology all the same looks this adept, why bother?
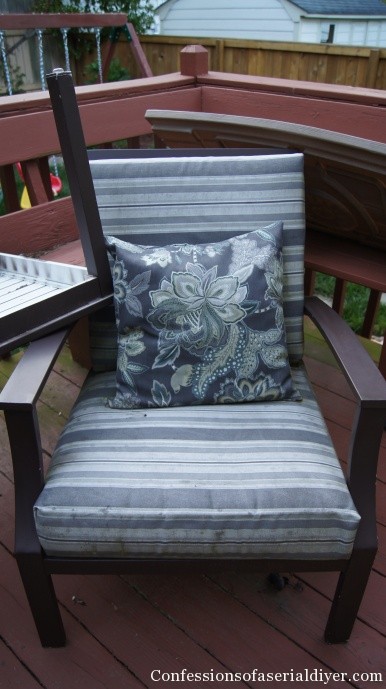
The before was really just and so deplorable…downright embarrassing:
And the deck…gross! Not to worry though, I spent the past three days out there. (And believe me, my arms are not happy right now!) A little demo and lots of elbow grease and it'due south looking so much amend. How does it end upward similar this??
UPDATE: You tin can encounter the deck Hither now!
Ok so here nosotros go!
-
Select your Fabric
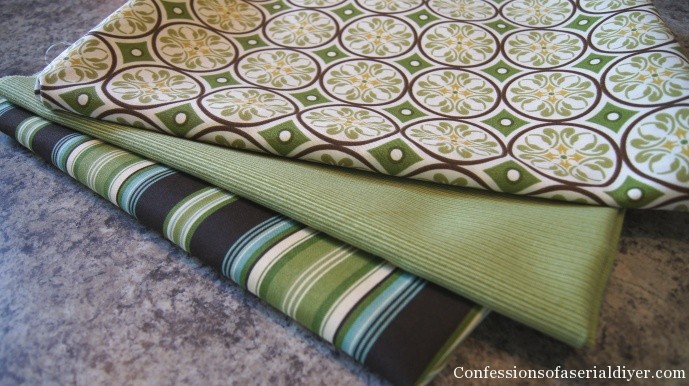
I prefer to utilize stripes or something with a geometric blueprint to brand cut a directly line easier. These are outdoor fabrics I found at JoAnn Fabrics.
-
Cut your fabric
Next y'all'll want to lay out your cushion and then that folded over, the fabric covers the absorber from top to bottom. (Here I removed the one-time cover, but I didn't remove them all. They actually keep their shape better if you keep the old covers on.)
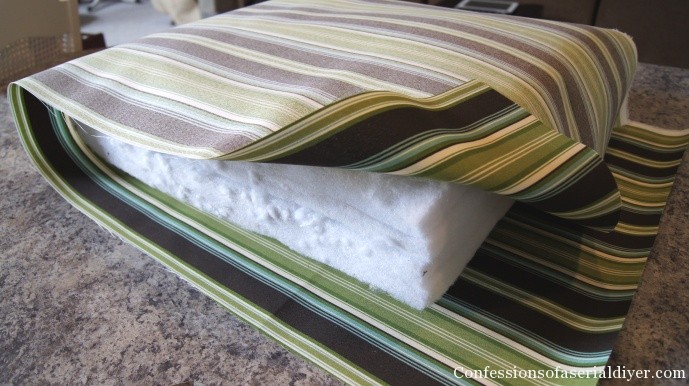
This fabric is 54″ wide. I was barely able to cut enough for two cushions side-by-side. Your sides only need to be long enough to encounter each other in the center with a one/4″ seam allowance for both top and bottom.
Y'all'll want them snug so they lay nicely!
-
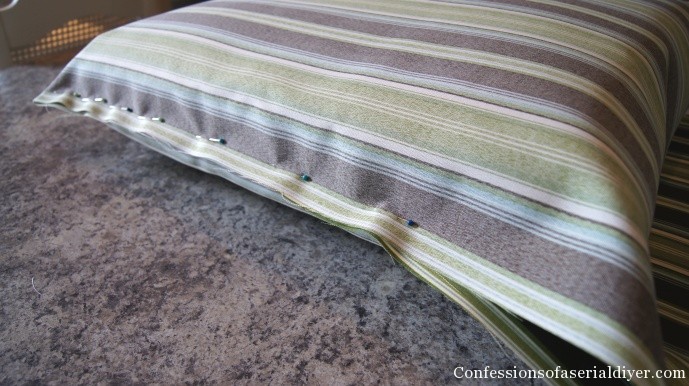
Pin Fabric
Next, with right sides together (dorsum of fabric facing out), I pinned the side seam on both sides:
-
Fourth dimension to Sew
And so, also starting at the folded edge, I sewed directly from folded edge to the open border on both sides:
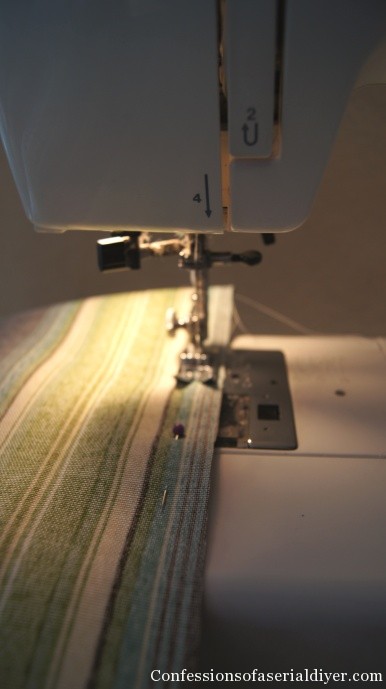
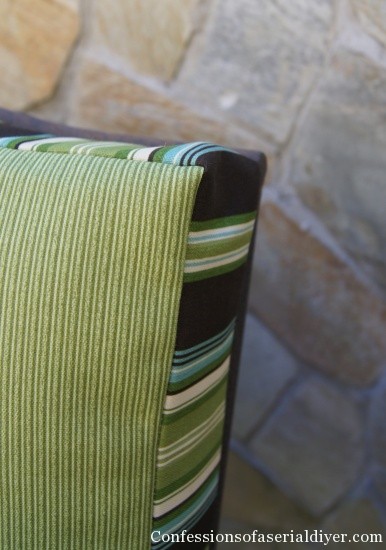
I'g not certain why I bothered pinning information technology all the way. Later on about a third of the style, I took out the rest of the pins and followed the line of the material. (See why stripes are the way to become?)
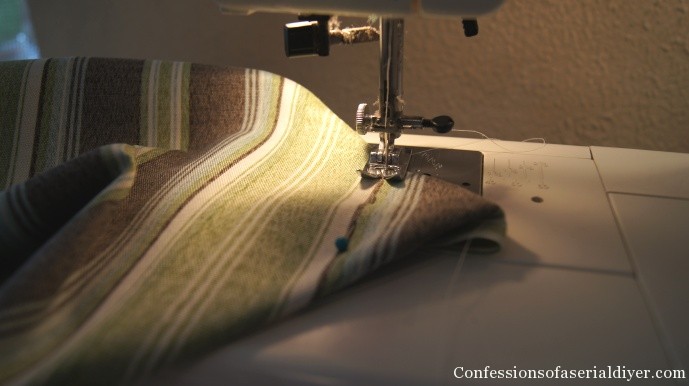
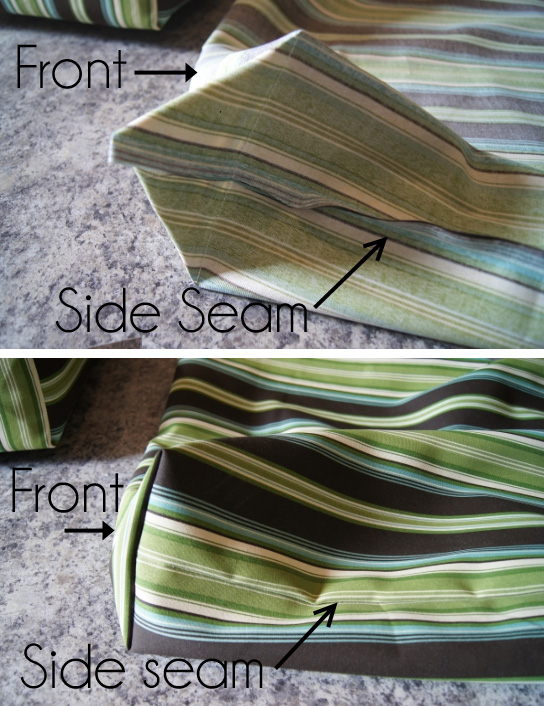
Side by side yous'll need to put your cover back on the cushion (even so inside out) and put a pin on each forepart corner like the photo below, where the corner of the cushion beneath stops:

Y'all volition sew along this line to create your front boxed corners. Remove the comprehend and sew those seams:
Here's your corner seam after sewing, both inside-out and right-side out:
Y'all can trim the extra fabric, but I didn't bother. I didn't reinforce my seams either because I don't plan on removing them to launder them. I'll just make new ones over again when these take had information technology.
Insert your cushion over again and tada! Perfect!

Just look at that beautiful corner! And you can barely brand out the side seam considering of the stripes!
-
Stitch the new cover closed
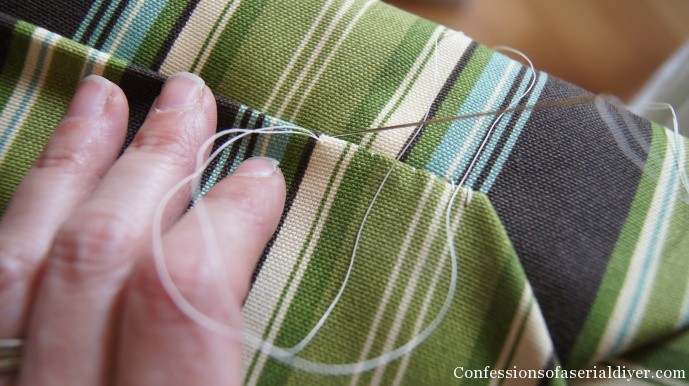
To finish off the dorsum of the cushion, fold it like yous're wrapping a present:

And manus stitch it up:
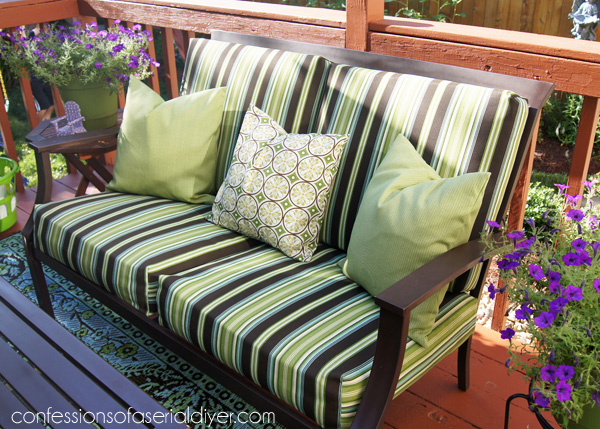
Here's to another fabled year!
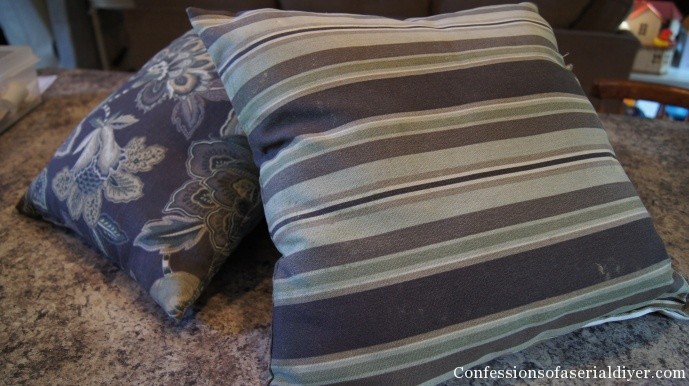
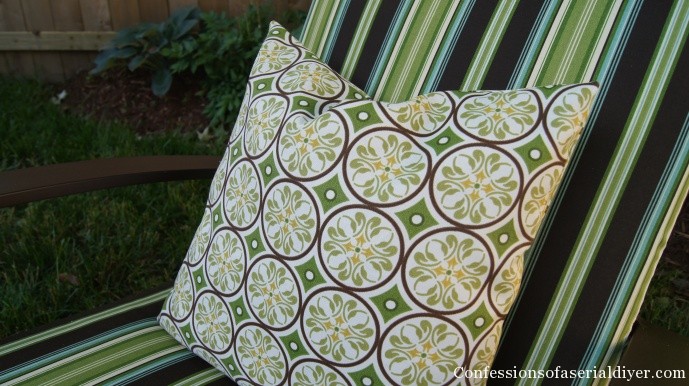
My pillows got a makeover also…
Before:
Ahh…
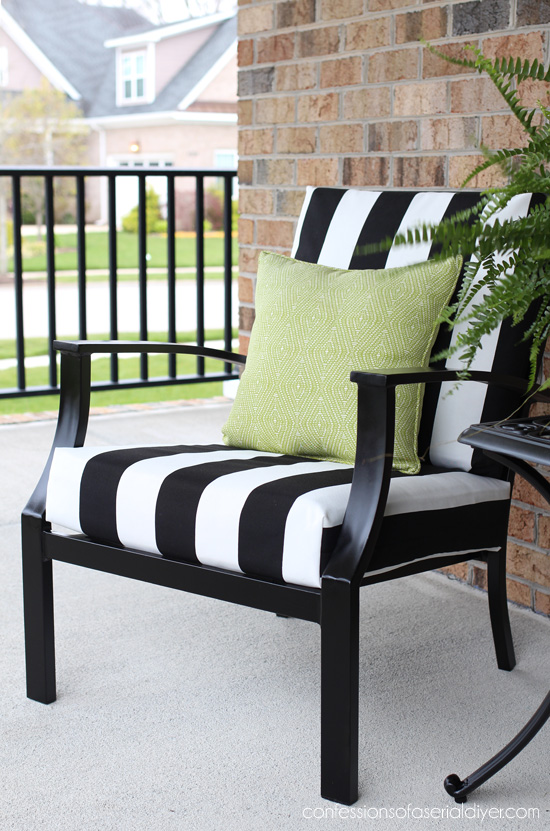
Oh how nosotros dear the after:
So new!! (Only we know better!!)
I wasn't crazy about the stripe at commencement because I used a stripe concluding twelvemonth. I really wanted to utilize the geometric fabric I used on the pillow for the cushions, only there were only 2 yards left on the commodities.
The stripe is so classic, though and it is really piece of cake to run up with, and then I'one thousand happy with how it turned out!
It took me most eight yards to embrace all the cushions. That includes a total of viii cushions.
That's approximately one 1000 (54″ wide) per cushion, only I was able to cut 2 side-past-side in my fabric. These are quite thick so yous should be able to exercise the same.
This is simply office one of my sew-easy outdoor cushion lesson.
I kick it upwards a notch with our settee cushion covers.
Here's a sneak peak:
I'k sharing those in a separate post Here .
And here is some other fix I updated more recently:
See more of this set HERE!
Here are a few more outdoor posts you might like:

DIY Umbrella Planter
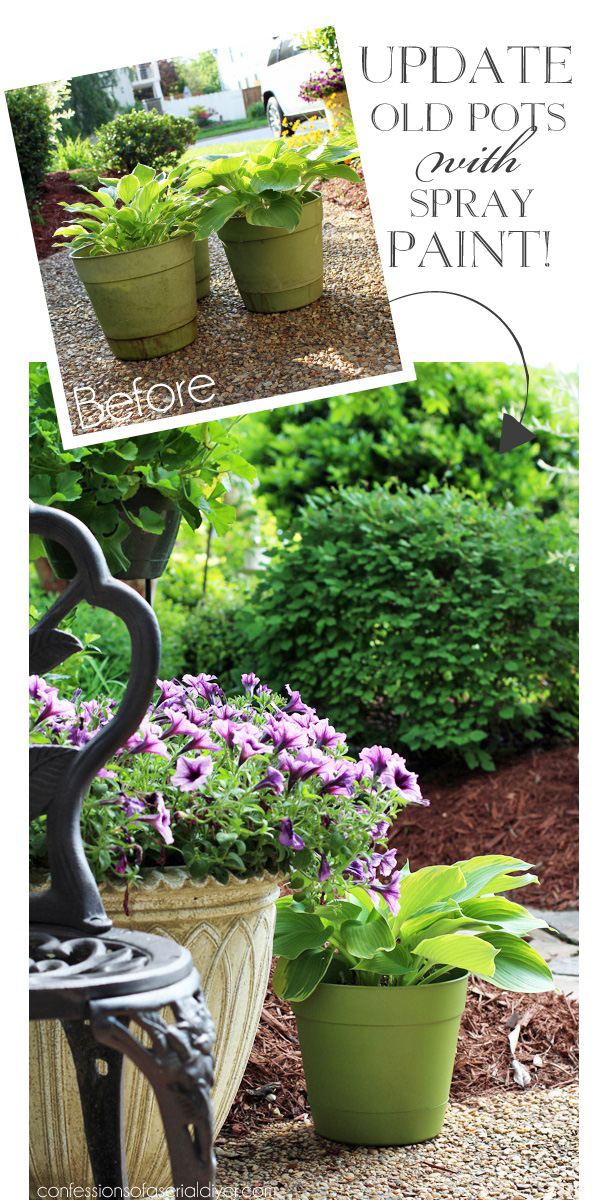
Cheap Planter Update and my Favorite Filler
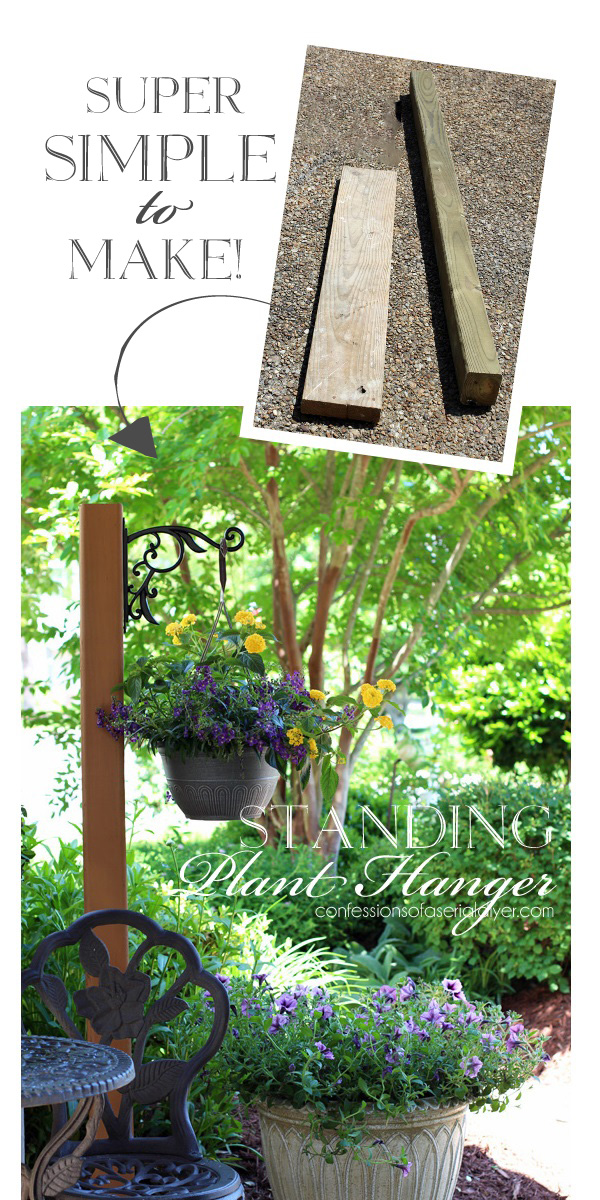
DIY Standing Outdoor Plant Hanger
Expert luck…you can do it!
XOXO,
![]()
Don't Miss a Thing!
If you like what yous see, in that location are several ways to follow along!
Email *INSTAGRAM * FACEBOOK * PINTEREST * TWITTER

Source: https://www.confessionsofaserialdiyer.com/sew-easy-outdoor-cushion-covers-part-1/
Posted by: mcmichaelthingaing.blogspot.com
0 Response to "How To Sew A Window Seat Cushion"
Post a Comment